How to Clean Wood Furniture Properly: Match the Method to the Finish
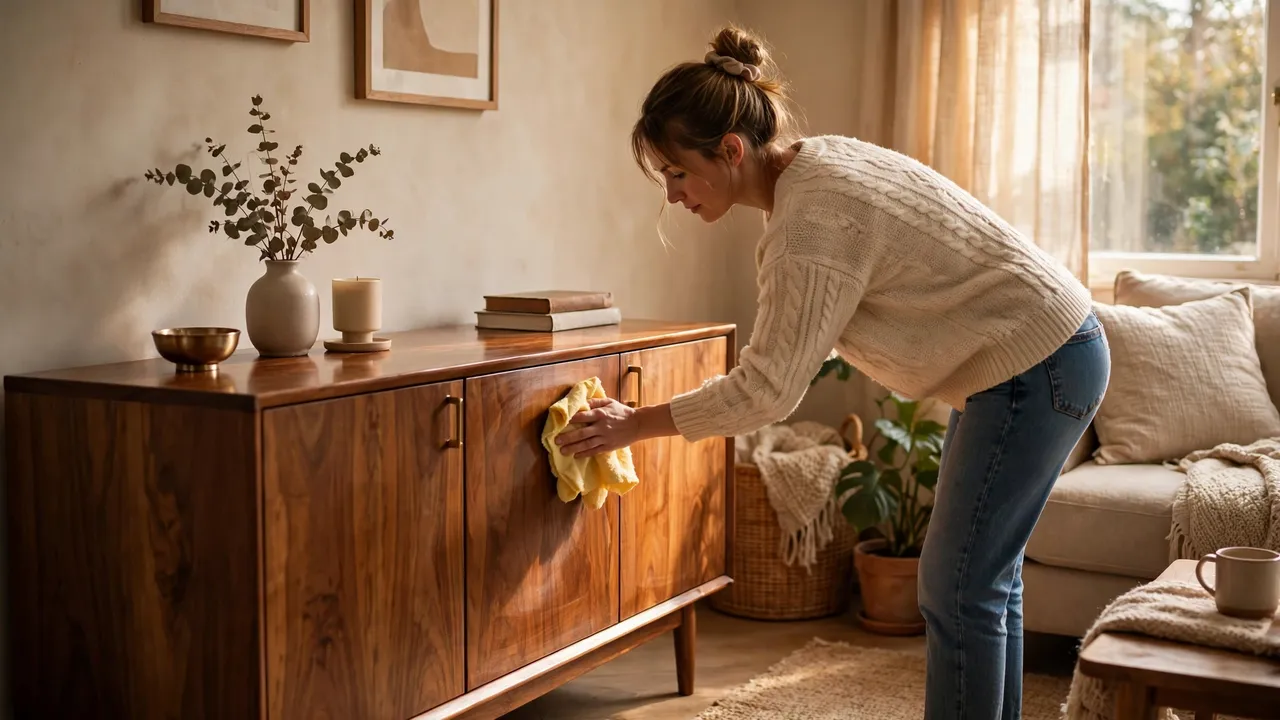
Most wood furniture is not dirty — it is filmed. Layers of spray polish, sticky hand oils and soap residue build a cloudy coat that makes good wood look tired, and the instinctive fix, more product, makes it worse. Proper cleaning is almost embarrassingly simple: dust dry, wipe with a cloth wrung out in warm water with a few drops of mild soap, dry immediately, and match everything to the finish. The finish is the whole game — a sealed table shrugs off a damp wipe, while an oiled antique wants the least moisture you can manage.
What you need
- Two soft microfibre cloths (one for washing, one for drying)
- Mild dish soap and warm water
- A soft brush or vacuum brush attachment for carvings
- Paste wax or furniture oil — only if your finish calls for it (see the table)
Step 0: Work out your finish
The finish — the protective coat on the wood — decides how much water the piece can take and what, if anything, to polish it with. Find a hidden spot (the back of a leg, the underside of a top) and put one drop of water on it for a minute or two:
| Finish | Water-drop test | How to clean | Feed it with |
|---|---|---|---|
| Sealed (lacquer, varnish, polyurethane) | Water beads on top | Barely damp cloth; mild soap for grime; dry at once | Usually nothing |
| Waxed (antiques, handmade pieces) | Beads at first; fingernail may mark a hidden spot | Dry dusting; barely damp spot-wipes, dried immediately | Thin paste wax once or twice a year, buffed |
| Oiled (teak, Scandinavian oak) | Slowly darkens the wood as it soaks in | Minimal moisture; wipe and dry immediately | Furniture oil every few months |
| Unfinished / raw | Soaks in at once, leaves a dark mark | Dry methods only; barely damp spot-clean at most | Nothing, unless you decide to finish it |
Veneer needs one extra thought: it is a thin sheet of real wood glued over a core, so water sitting in a seam can lift an edge that no polish will ever flatten again. Keep veneer pieces the driest of all.
How to clean wood furniture properly, step by step
Step 1: Dust dry, along the grain
Always start dry. Lift dust with a clean microfibre cloth, wiping in the direction of the grain. Dust left in place turns to muddy paste the moment a damp cloth touches it, and gritty dust dragged across a finish scratches it. Use a soft brush or the vacuum's brush tool for carvings and grooves. Skip the feather duster — it mostly moves dust around.
Step 2: Mix the mildest solution that works
A bowl of warm water with two or three drops of mild dish soap — the faintest slip, not suds. For most weekly cleans, plain warm water is honestly enough; soap is for fingerprints, sticky spots and kitchen-adjacent grime.
Step 3: Wring the cloth until it is barely damp
Dip the cloth and wring it until it feels almost dry. This is the step that protects the furniture: excess moisture is wood's enemy, swelling joints, lifting veneer and leaving white haze in finishes. If the cloth drips, it is too wet.
Step 4: Wipe along the grain, in sections
Wipe gently in the direction of the grain, one section at a time, re-rinsing and re-wringing the cloth as it picks up dirt. Work sticky spots with a little patience rather than more water.
Step 5: Dry immediately, then buff
Follow straight behind with the dry cloth — never let a wood surface air-dry wet. A final light buff along the grain removes streaks and brings up the natural sheen. For most pieces, steps 1 and 5 alone are the entire weekly routine.
Removing polish build-up (the cloudy, sticky film)
If the surface feels tacky or looks cloudy even after cleaning, you are probably looking at years of polish and spray residue, not dirt. Wipe it down with the soap solution above, rinse-wipe with a cloth dampened in plain water, and dry. Repeat rather than scrubbing harder. Then stop feeding it: sealed finishes need no polish at all, and silicone spray polishes are the main source of the build-up (and they can make future refinishing difficult).
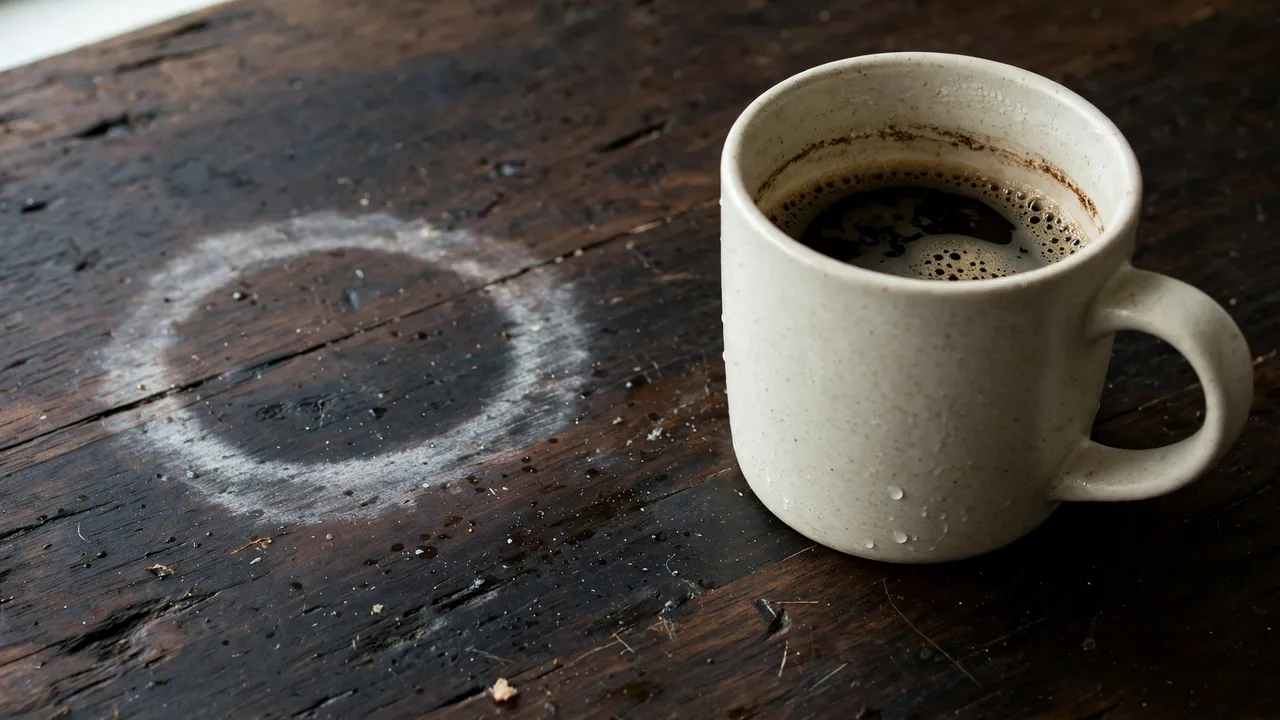
Water rings and white marks
White rings are moisture trapped in the finish, not in the wood — which is why they can often be fixed. Try, in order:
- Time and dryness first: fresh marks sometimes fade on their own over a few days as the finish dries.
- Petroleum jelly or mayonnaise left on the ring for several hours or overnight, then wiped off — the oil can displace the trapped moisture.
- Gentle heat: a warm (not hot) iron over a clean cloth, pressed for a few seconds at a time, can drive the moisture out of the finish. Check after every press; overheating damages finishes, so go slowly.
- Dark rings are different: the water reached the wood itself and stained it. Those need sanding and refinishing, or a professional.
What never to use on wood furniture
- All-purpose sprays, ammonia and bleach: they strip and dull finishes.
- Undiluted vinegar: its acid can dull and soften several finishes; it is not a wood cleaner.
- A soaking-wet cloth or steam cleaner: swelling, warping, lifted veneer.
- Silicone spray polishes, used weekly: the build-up machine itself.
- Abrasive pads and scouring powders: they scratch the finish you are trying to protect.
- Wax over a hard sealed finish: it just adds another cloudy layer.
Habits that keep wood looking its age — gracefully
- Coasters, always; trivets under anything hot. Most rings and marks are preventable in one second.
- Wipe spills immediately and dry the spot.
- Dust weekly; wash only when dusting stops being enough.
- Keep pieces out of harsh direct sun and away from radiators — heat and UV fade and dry wood unevenly.
- Lift furniture to move it; dragging breaks joints and feet.
More furniture and home care
Wood's neighbours have their own rules — see how to clean a leather couch and how to clean leather shoes for the other classic materials in the room.
Frequently asked questions
What is the proper way to clean wood furniture?
Dust dry with a microfibre cloth along the grain, then wipe with a cloth wrung out in warm water with two or three drops of mild dish soap until it is barely damp, and dry immediately with a second cloth. Match the moisture to the finish: sealed wood tolerates the damp wipe; oiled, waxed and unfinished wood need even less water.
How do I know what finish my furniture has?
Use the water-drop test on a hidden spot: if the drop beads, the finish is sealed or waxed; if it slowly darkens the wood, it is oiled; if it soaks in at once and marks, the wood is unfinished. Maker's paperwork, if you have it, settles the question faster.
How do I remove white water rings from wood?
White rings are moisture trapped in the finish. Let fresh marks dry for a few days first; then try petroleum jelly or mayonnaise left on for several hours, or gentle heat from a warm iron over a cloth, pressed a few seconds at a time. Dark rings mean the wood itself is stained and need refinishing.
Can I use vinegar to clean wood furniture?
Not undiluted, and not as a habit — vinegar's acid can dull and soften finishes over time. Warm water with a few drops of mild dish soap cleans wood safely and is all most pieces ever need.
Why does my wood furniture feel sticky or look cloudy?
Almost always polish build-up: layers of spray polish, wax and soap residue. Clean with the mild soap solution, rinse-wipe with a plain-water cloth, and dry. Then cut back on polish — sealed finishes need none, and silicone sprays are the worst offenders.
How often should wood furniture be polished or waxed?
Sealed finishes: essentially never. Waxed finishes: a thin coat of paste wax once or twice a year, buffed well. Oiled finishes: re-oil every few months, or when the wood starts to look dry. Weekly polishing of any finish only builds the film you will later have to remove.
Sources
Method cross-checked against furniture care guidance for sealed, waxed, oiled and unfinished wood (finish identification by water-drop test, barely damp microfibre cleaning, finish-matched feeding, white-ring remedies). Written in our own words for A Natural Day readers.

Written by
MD DOLAR HOSEN
Technology expert and the founder and author of A Natural Day. He tests and reviews everyday tech, gadgets, and home essentials, and writes practical buying gui…
Comments (0)
Join the discussion — sign in to leave a comment.
Sign in to commentNo comments yet. Be the first to share your thoughts.