How to Clean a Loofah: Daily Rinse, Weekly Deep Clean, and When to Replace It
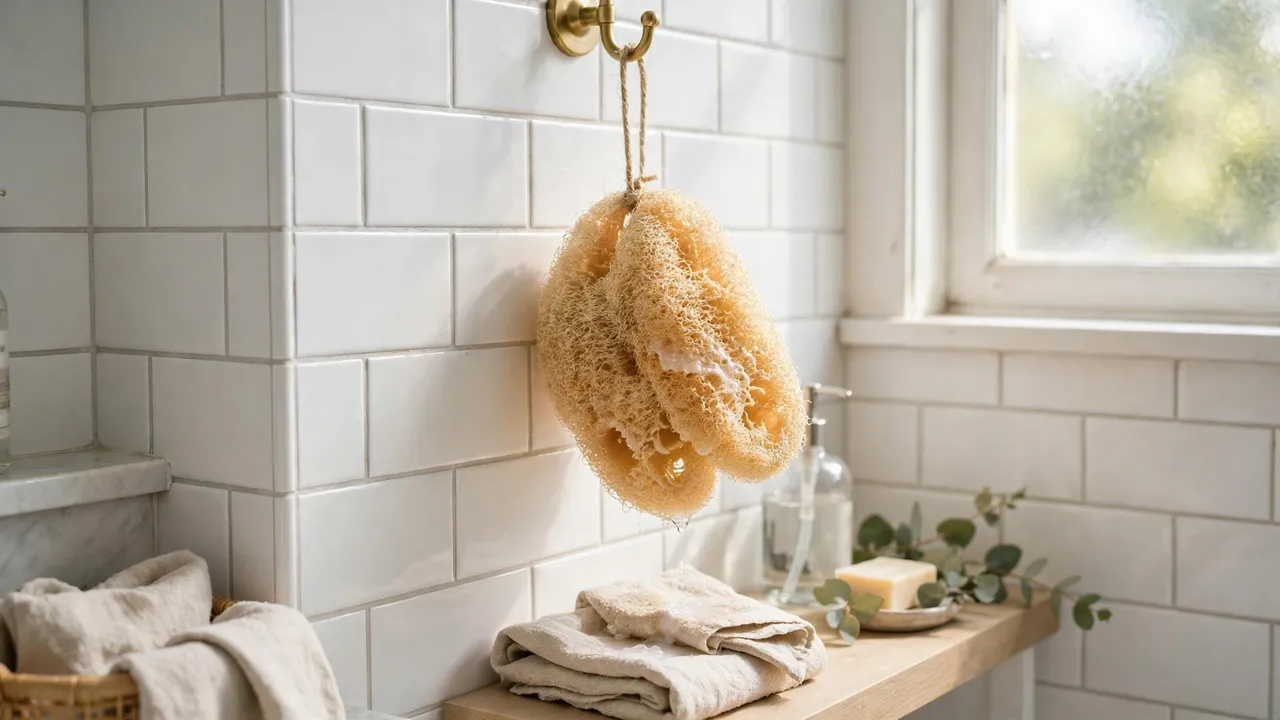
A loofah is a warm, damp sponge full of dead skin cells — which is to say, a perfect home for bacteria. Studies and dermatologists agree on the uncomfortable facts: bacteria start growing on a damp loofah within about a day, and scrubbing your skin with a dirty one can spread that bacteria into tiny nicks and cause breakouts and infections. The fix is a two-part habit — rinse and dry it properly after every shower, deep-clean it once a week — plus knowing when cleaning is no longer enough and the loofah has to go.
What you need
- White vinegar or baking soda (for the weekly soak)
- A bowl
- A washing machine, dishwasher or microwave (optional sanitising methods — see below)
- A hook outside the shower's splash zone
After every shower: the 60-second routine
Step 1: Rinse until the water runs clear
Hold the loofah under warm running water and squeeze it repeatedly until no soap, lather or visible residue comes out. Soap film and skin flakes left inside are the food the bacteria live on.
Step 2: Squeeze and shake out the water
Squeeze firmly several times, then shake it out. The goal is to start the drying process with as little water inside as possible.
Step 3: Hang it somewhere dry — not in the shower
This is the step most people get wrong. A loofah left hanging in a steamy shower never fully dries, and a never-dry loofah is a bacteria farm. Hang it in a ventilated spot outside the splash zone — a hook by the window or outside the bathroom entirely is better. Drying is the real disinfectant in the daily routine.
The weekly deep clean (choose one method)
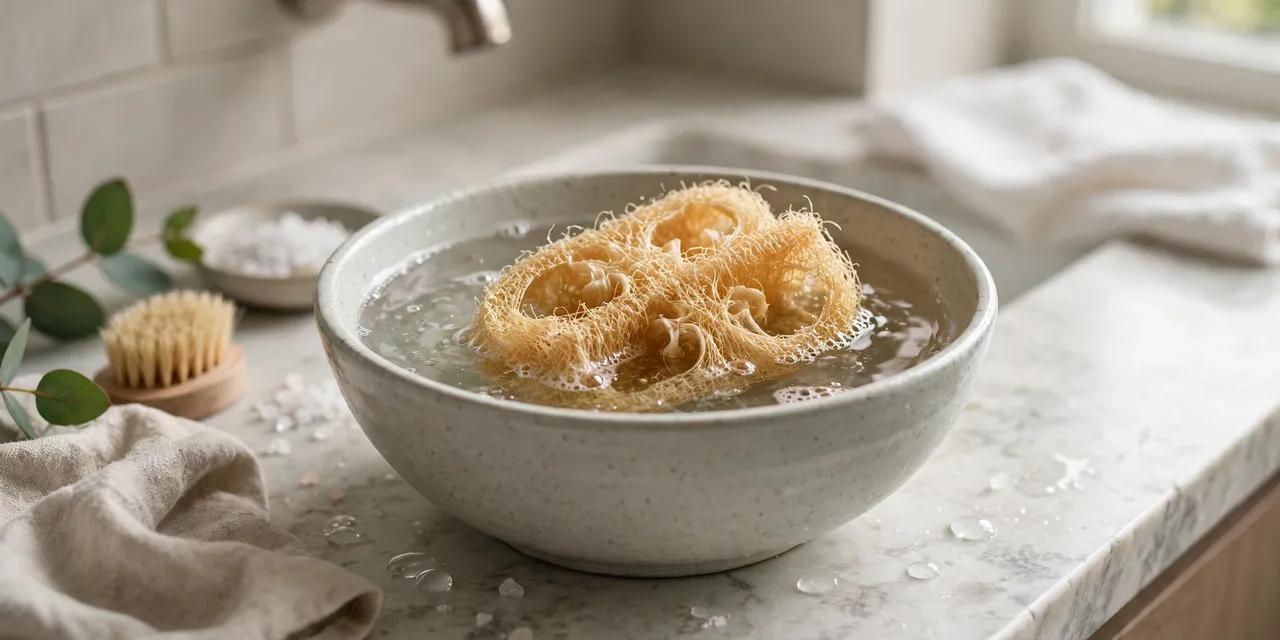
| Method | How | Best for |
|---|---|---|
| Vinegar soak | 1 part white vinegar to 2 parts warm water; soak 5–10 minutes; rinse well | Natural and synthetic loofahs; gentle weekly reset |
| Baking soda soak | 2 tablespoons in a litre of warm water; soak 10 minutes; rinse | Deodorising; fibre-safe |
| Washing machine | In a mesh laundry bag, warm wash with towels | Synthetic mesh poufs and sturdy natural loofahs |
| Dishwasher | Top rack, run a hot cycle | Both types; easy if you run it anyway |
| Microwave | Loofah must be thoroughly WET; microwave on high about 60 seconds; let it cool before touching | Synthetic poufs mainly. Never microwave a dry loofah — it can catch fire. Not for loofahs with wooden parts. |
| Boiling water | Submerge in boiling water 3–5 minutes; lift out with tongs | Plain natural loofahs without wooden handles; use sparingly — repeated boiling softens fibres |
| Diluted bleach soak | About 1 part bleach to 9 parts water, 5 minutes, then rinse until no smell remains | The strongest reset, e.g. after illness. Rinse extremely well; harsh on natural fibres, so not a weekly habit |
After any method: rinse, squeeze, and hang it to dry completely in moving air before the next shower.
When cleaning is not enough: replace it
- Natural loofahs: every 3–4 weeks. (Cleveland Clinic's guidance.) The fibres break down and the inside cannot be fully sanitised forever.
- Synthetic mesh poufs: every 6–8 weeks (about two months at most).
- Immediately, whatever its age, if it smells sour after cleaning, has visible mould or dark spots that do not wash out, or is falling apart.
- After a skin infection or illness, replace rather than sanitise.
Mistakes that make a loofah dangerous
- Storing it in the shower. Permanent damp is the whole problem.
- Sharing it. Loofahs are strictly one-person items.
- Using it on broken, shaved or irritated skin — bacteria meet open skin. Skip the loofah for a day or two after shaving.
- Scrubbing hard. The exfoliation is in the texture; pressing harder damages skin without cleaning better.
- Keeping it for months because it "still looks fine". The bacteria are inside the fibres where you cannot see them.
- Microwaving it dry — a genuine fire risk. Wet only, or not at all.
Gentler alternatives worth knowing
Dermatologists often suggest skipping loofahs altogether: a clean washcloth (laundered after each use) or just your hands with cleanser exfoliates less but carries none of the storage problem. Silicone scrubbers are the middle ground — they rinse clean, dry fast and resist bacteria far better than fibre or mesh.
More personal care guides
The same rinse-and-dry logic keeps other bathroom tools safe — see how to clean makeup brushes and how to clean a hairbrush.
Frequently asked questions
How do you clean a loofah properly?
Rinse it under warm water after every shower until the water runs clear, squeeze it out, and hang it to dry fully outside the shower. Once a week, deep-clean it: a vinegar soak (1 part vinegar to 2 parts warm water, 5–10 minutes), a baking soda soak, a machine wash in a laundry bag, a dishwasher cycle, or — for a thoroughly wet loofah only — about 60 seconds in the microwave.
How often should you replace a loofah?
Natural loofahs every 3–4 weeks, synthetic mesh poufs every 6–8 weeks — even with good cleaning. Replace immediately if it smells sour after washing, shows mould, or starts falling apart.
Can you microwave a loofah to disinfect it?
Yes, but only when it is completely wet — about 60 seconds on high kills most bacteria. A dry loofah can catch fire in a microwave, and loofahs with wooden handles or parts should never be microwaved. Let it cool before handling.
Why does my loofah smell?
Bacteria and mildew growing inside the damp fibres, feeding on trapped soap and skin cells. A weekly deep clean plus proper drying fixes most smells; a loofah that still smells sour after a deep clean is telling you its 3–4 weeks are up — replace it.
Is it bad to leave a loofah in the shower?
Yes — it is the most common loofah mistake. The shower stays warm and steamy, so the loofah never dries, and bacteria multiply in the permanently damp fibres. Hang it in a dry, ventilated place between uses.
Are loofahs bad for your skin?
They can be if they are old or stored wet: dermatologists warn that a bacteria-loaded loofah spreads microbes over the skin and into small nicks, causing breakouts and infections. A fresh, well-dried loofah used gently is fine for most people; a washcloth or silicone scrubber is the lower-risk option.
Sources
Guidance cross-checked against Cleveland Clinic advice on loofah hygiene (replace natural loofahs every 3–4 weeks, diluted bleach soak method) and dermatologist recommendations (daily rinse, full drying outside the shower, weekly sanitising). Written in our own words for A Natural Day readers.

Written by
MD DOLAR HOSEN
Technology expert and the founder and author of A Natural Day. He tests and reviews everyday tech, gadgets, and home essentials, and writes practical buying gui…
Comments (0)
Join the discussion — sign in to leave a comment.
Sign in to commentNo comments yet. Be the first to share your thoughts.