How to Clean Makeup Brushes: The Right Way (and How Often)
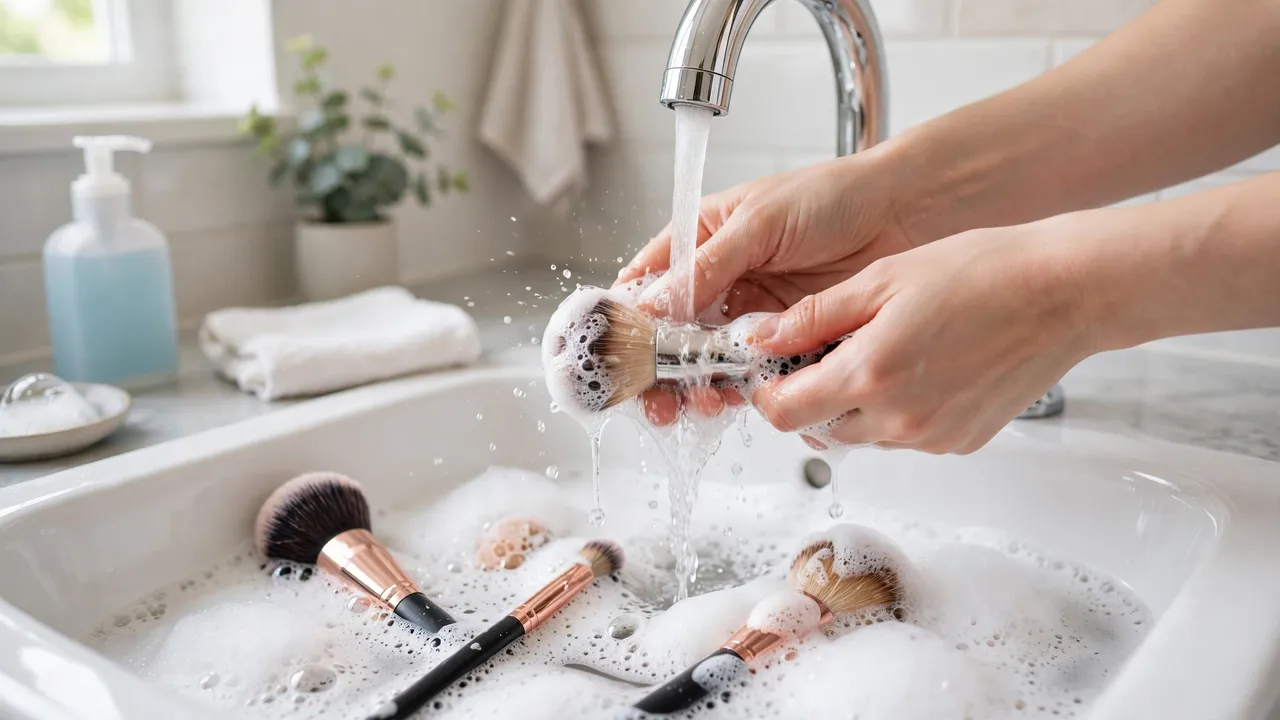
Dirty makeup brushes do more than apply makeup badly. Old foundation, skin oil and dead skin build up in the bristles, and bacteria grow in that mix. The result can be breakouts, irritated skin and streaky makeup. Dermatologists advise washing your brushes every 7 to 10 days — and the job itself takes only a few minutes once you know the right method.
The key rule is simple: clean the bristles, but keep the handle and the metal band (the ferrule) dry. Water inside the ferrule loosens the glue that holds the bristles, and that is how good brushes fall apart. This guide walks through the full wash, the quick clean between washes, sponges, and the signs that a brush is finished.
What you need
- Gentle shampoo, baby shampoo, or a brush cleanser
- A small bowl of lukewarm water
- A clean towel or paper towels
- A textured cleaning mat or glove (optional — your palm works fine)
- For heavy foundation build-up: a drop of mild liquid dish soap
How to clean makeup brushes, step by step
Step 1: Rinse the tips only
Hold each brush with the bristles pointing down under lukewarm running water, and rinse only the tips. Keep the ferrule and handle out of the stream. Bristles-down also stops water running back into the glued base. Avoid hot water — it weakens the glue and can damage natural bristles.
Step 2: Add shampoo and swirl
Put about a tablespoon of gentle shampoo into a bowl of lukewarm water, or place a drop of shampoo in your palm. Swirl the brush tips in the water or against your palm with light pressure. You will see old makeup colour the foam — that is the build-up leaving the bristles.
Step 3: Work out stubborn build-up
Foundation and concealer brushes hold the most product. For these, let the soapy water sit on the bristles for a minute, then massage gently with your fingers or against a textured cleaning mat. A drop of mild dish soap helps cut through oily, waterproof products on synthetic brushes. Never pull or twist the bristles.
Step 4: Rinse until the water runs clear
Rinse the tips again under lukewarm water, bristles down. If the water is still cloudy or coloured, repeat steps 2 and 4. A brush is clean when the rinse water runs completely clear and the bristles feel smooth, not sticky.
Step 5: Squeeze out the water and reshape
Press the bristles gently between your fingers or in a clean towel to remove extra water. Do not wring or pull. Then reshape the brush head with your fingers so it dries in its natural shape, with the bristles together — not splayed out.
Step 6: Dry flat, tips over the edge
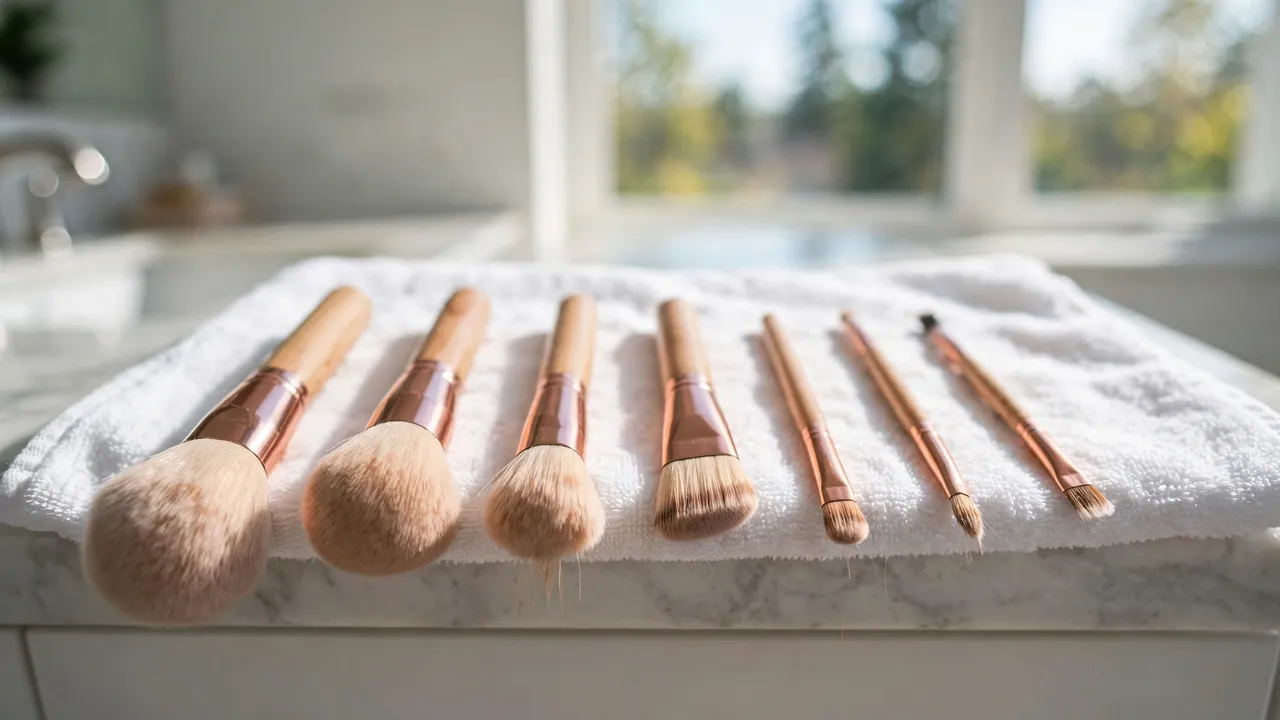
Lay the brushes flat on a dry towel with the bristle tips hanging just over the edge of the counter. This lets air reach the bristles and keeps any last moisture away from the ferrule. Never stand wet brushes upright in a cup: water runs down into the glue and loosens the bristles over time. Most brushes dry overnight; large powder brushes can take a full day.
How often should you clean each brush?
| Brush or tool | How often to wash | Why |
|---|---|---|
| Foundation and concealer brushes | Once a week | Liquid products build up fast and hold bacteria |
| Eye brushes | Once a week | The eye area is sensitive to irritation and infection |
| Powder, blush and bronzer brushes | Every 2 weeks | Dry products build up more slowly |
| Makeup sponges | After every use (wash), replace every 1–3 months | Sponges soak product deep inside where it cannot fully rinse out |
| Lip brushes | After every use | They carry product and bacteria straight back to the lips |
The quick clean between washes
On busy days, a spray brush cleaner keeps brushes fresh between deep washes. Spray a little onto a tissue or towel and sweep the brush back and forth until no more colour comes off. This removes surface product and slows bacteria growth, but it does not replace the full wash — oils and build-up still collect deep in the bristles.
How to clean a makeup sponge
Sponges need a slightly different method. Wet the sponge fully, add a few drops of liquid cleanser or gentle soap, and squeeze it under warm running water again and again. Work the soapy water through for about 15 seconds, then keep squeezing and rinsing until the water runs clear and no foam remains. Let it air-dry in the open — never seal a damp sponge in a bag or drawer, where mould can grow.
Natural vs synthetic bristles: any difference?
Synthetic brushes are tougher: they handle dish soap for oily build-up and dry a little faster. Natural-hair brushes are softer and more delicate — use gentle shampoo only, and if they feel stiff after washing, a tiny touch of hair conditioner, rinsed out well, can soften them again. Both types follow the same ferrule rule: keep the glued base dry.
Mistakes that ruin makeup brushes
- Soaking the whole brush. Water in the ferrule dissolves the glue; bristles start shedding and handles can crack.
- Using hot water. It weakens glue and dries out natural bristles.
- Drying brushes standing upright. Moisture runs into the base with every wash.
- Using harsh soap or bar soap with strong detergents. It strips and frays the bristles.
- Skipping washes for weeks. Build-up hardens, application turns streaky, and bacteria get a free home.
- Drying with a hair dryer. Heat warps synthetic bristles and loosens glue. Air-dry only.
When to replace a brush
Even well-kept brushes wear out. Replace a brush when the bristles splay out and will not reshape, when it keeps shedding after washing, when the ferrule feels loose, or when the bristles stay stiff and scratchy after a proper clean. A sponge that tears, crumbles or smells even after washing should go straight in the bin.
Keep the rest of your routine clean too
Brushes are one part of a clean beauty routine — and the same gentle habits protect the rest of your home. See how to clean a leather couch for the barely-damp method that keeps leather soft and stops it cracking.
Frequently asked questions
How often should I really wash my makeup brushes?
Every 7 to 10 days for most brushes, following the advice of the American Academy of Dermatology. Brushes used for liquid foundation and around the eyes should be washed weekly; powder brushes can go two weeks.
Can I use dish soap to clean makeup brushes?
Yes, in small amounts, and it is especially good on synthetic brushes with oily foundation build-up. Use a mild liquid dish soap, rinse very well, and do not use it every time on natural-hair brushes, which it can dry out.
Why do my brushes feel stiff after washing?
Usually leftover soap or hard-water minerals in the bristles. Rinse longer, until the water is fully clear, and reshape while damp. For natural bristles, a tiny amount of hair conditioner, rinsed out, restores softness.
Can I share makeup brushes if I clean them?
It is better not to share brushes, especially eye and lip brushes. Cleaning lowers the risk but does not remove it fully, and skin infections and cold sores can pass through shared tools.
How long do makeup brushes take to dry?
Small eye brushes dry in a few hours. Face brushes usually need overnight, and dense powder brushes can take up to a day. Never use a brush while it is still damp inside — that pushes moisture and bacteria onto your skin.
Do brush cleaning machines or mats really help?
A textured mat or glove speeds up the swirling step and is gentler on your palm with big sets. Spinning machines wash and dry fast, but they can be rough on delicate natural bristles. Neither replaces the basics: gentle cleanser, clear rinse water, and flat drying.
Sources
Method and washing frequency follow the American Academy of Dermatology guidance on cleaning makeup brushes (wash every 7 to 10 days; keep the ferrule dry; dry flat), cross-checked with WebMD's brush-care overview. Written in our own words for A Natural Day readers.

Written by
MD DOLAR HOSEN
Technology expert and the founder and author of A Natural Day. He tests and reviews everyday tech, gadgets, and home essentials, and writes practical buying gui…


Comments (0)
Join the discussion — sign in to leave a comment.
Sign in to commentNo comments yet. Be the first to share your thoughts.