How to Clean Shower Mold: The Right Cleaner for Grout, Tile and Caulk
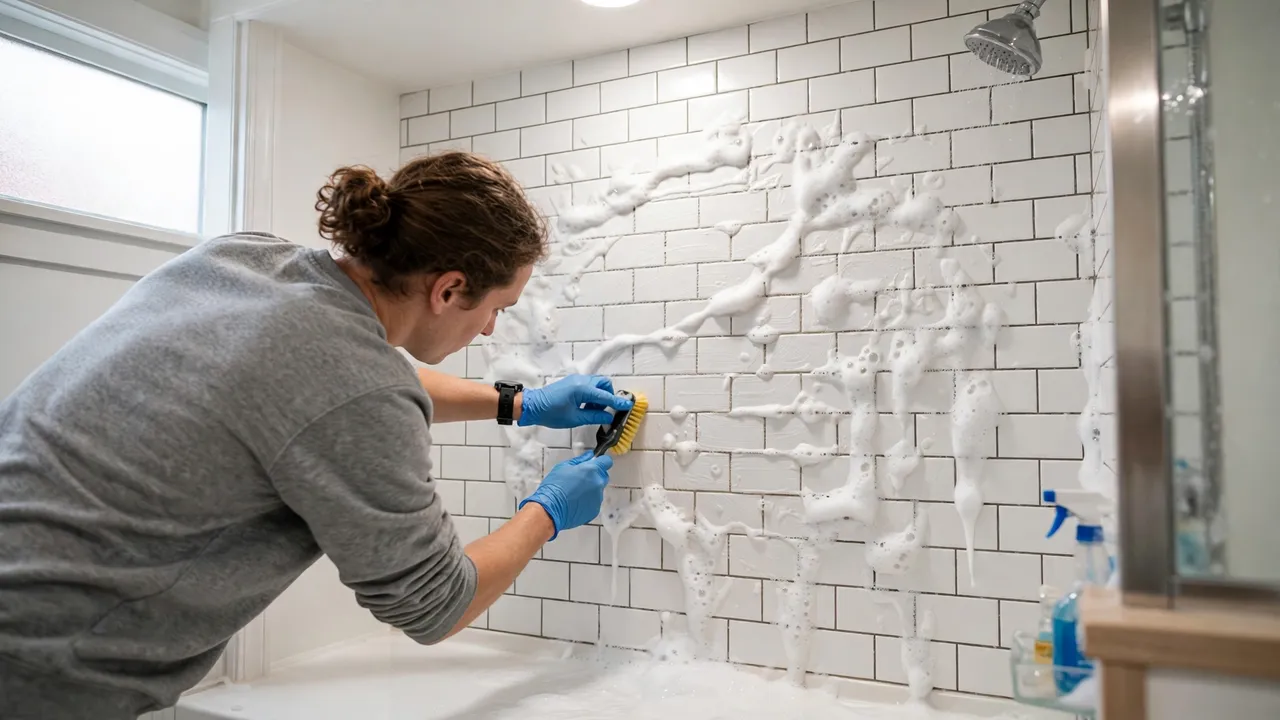
Black spots in the grout and along the caulk are the most common bathroom problem there is. A shower gives mould everything it wants: warmth, water, and soap residue to feed on. The good news is that surface mould on tile, grout and glass is a simple DIY job with things you probably already own — as long as you use the right cleaner for each surface and give it time to work.
One warning before the steps: mould that covers a large area (more than about 10 square feet), keeps coming back within days, or comes with soft walls or a strong musty smell may be growing behind the wall. That is a job for a professional, not a spray bottle. Everything below is for normal surface mould.
What you need
- White vinegar (undiluted), in a spray bottle
- Baking soda
- 3% hydrogen peroxide (optional, for stains and coloured grout)
- Stiff grout brush or an old toothbrush
- Rubber gloves; an N95 mask and eye protection for heavy patches
- Microfibre cloths
- Utility knife and 100% silicone caulk (only if the caulk needs replacing)
Which cleaner works where
| Surface | Best cleaner | Notes |
|---|---|---|
| Grout lines | Undiluted white vinegar, or baking soda paste | Vinegar soaks into porous grout and reaches the roots of the mould |
| Coloured grout | 3% hydrogen peroxide | Gentler on colour than bleach or strong chemicals |
| Glazed tile and glass doors | Vinegar, or diluted bleach for stubborn surface stains | These are non-porous, so surface cleaners work well |
| Natural stone (marble, travertine, slate) | pH-neutral stone cleaner only | Never vinegar or bleach — acid and bleach damage stone |
| Silicone caulk with mould inside | None — replace it | Mould grows through the silicone; it cannot be scrubbed out |
How to clean shower mould, step by step
Step 1: Ventilate and protect yourself
Open a window and switch on the bathroom exhaust fan. Put on rubber gloves, and wear a mask and eye protection if the patch is large or you are sensitive to mould. Scrubbing stirs spores into the air, so this step matters.
Step 2: Spray the grout with vinegar and wait
Spray undiluted white vinegar directly onto the mouldy grout lines until they are fully wet. Then wait — at least 30 minutes, and up to an hour for thick patches. This waiting time is the part most people skip, and it is why their cleaning "does not work". The vinegar needs time to soak into the porous grout and kill the mould at its roots.
Step 3: Add baking soda paste on stubborn spots
For heavy staining, mix about 3 parts baking soda to 1 part water into a thick paste and spread it along the grout lines. Leave it for 10 minutes. The paste adds gentle scrubbing power and helps lift the stain and the musty smell out of the pores.
Step 4: Scrub in small circles
Work along the grout with a stiff brush in tight circular motions. Use a toothbrush for corners, around taps, and along the drain. If a stain survives the first round, spray with 3% hydrogen peroxide, let it bubble for 10 to 15 minutes, and scrub again — peroxide lifts the dark colour that dead mould leaves behind.
Step 5: Rinse hot and dry fully
Rinse everything with hot water and wipe it down. Then dry the shower with a microfibre cloth. This last part is not optional: mould returns fastest on surfaces left wet, so a dry finish is part of the clean, not an extra.
Step 6: Check the caulk honestly
Look closely at the silicone lines where the wall meets the tray or tub. If the dark colour sits only on the surface, the steps above may clear it. If the black runs through the caulk, or the caulk is peeling or cracked, no cleaner will fix it — the mould is inside the silicone. Go to the replacement steps below.
Why bleach is the wrong tool for grout
Bleach has a strong reputation, but on grout it mostly fails. Grout is porous, like a sponge. Bleach sits on the surface, lightens the stain so it looks clean, and evaporates before it can soak in and kill the roots — so the mould grows back within weeks. Bleach does have one fair use here: stubborn surface stains on glazed tile and glass, diluted (1 cup in a gallon of water), scrubbed and rinsed well. Never use it on natural stone, and never mix bleach with vinegar or ammonia — the mix creates dangerous gas.
How to replace mouldy caulk
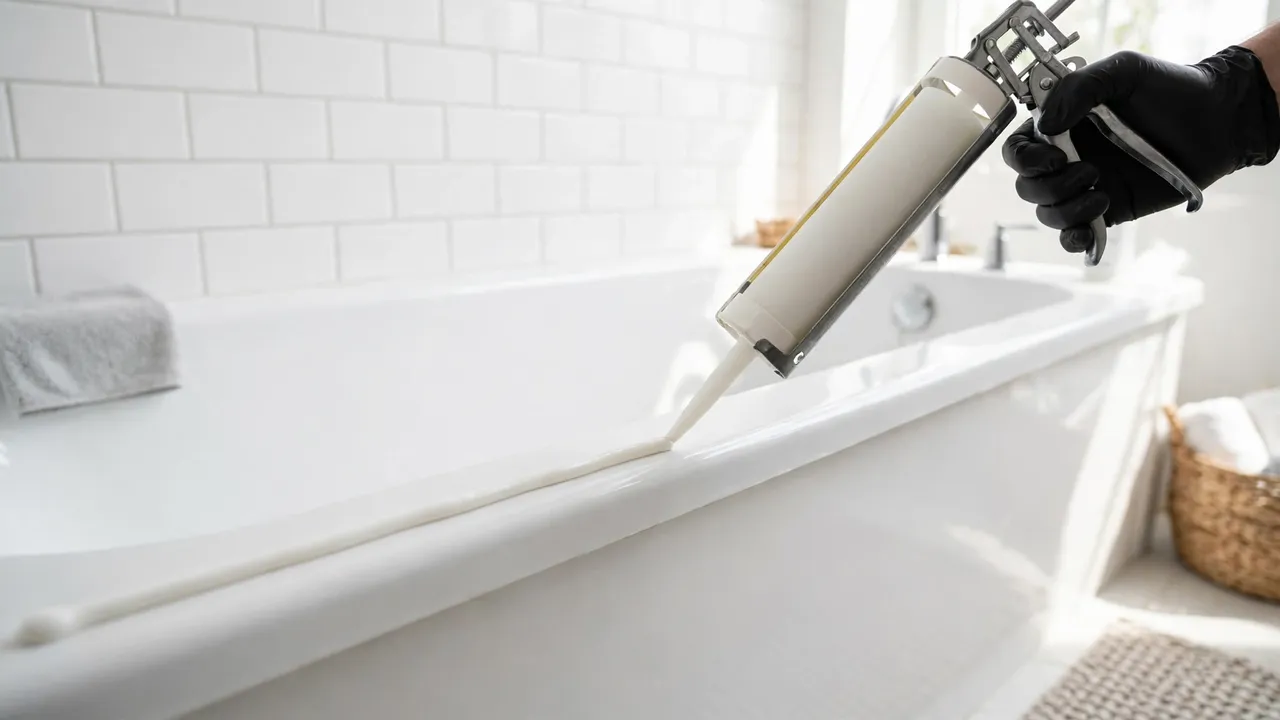
- Cut the old caulk away with a utility knife and pull out as much as you can.
- Clean the open joint with vinegar and a brush to remove residue and mould.
- Let the joint dry completely — 24 hours is a safe minimum. New caulk will not stick to a damp joint.
- Apply a smooth bead of fresh 100% silicone caulk (choose one labelled mould-resistant). Silicone handles water far better than latex caulk.
- Smooth the bead with a wet finger, wipe the extra away, and let it cure for the time on the tube before using the shower.
How to stop mould coming back
- Run the exhaust fan during every shower and for 20–30 minutes after. No fan? Open the window or door.
- Squeegee the walls and glass after showering. It takes 30 seconds and removes most of the water mould needs.
- Leave the shower door or curtain open so the inside dries between uses.
- Wash or replace the shower curtain liner when its bottom hem turns pink or black.
- Seal the grout once a year. Grout sealer slows water soaking in, which is where mould starts.
- Do a quick vinegar spray weekly on the lowest grout lines and corners, where mould starts first.
Mistakes that make shower mould worse
- Spraying and scrubbing at once. Without sitting time, the cleaner never reaches the roots.
- Using bleach on grout and calling it done. The stain fades, the mould stays.
- Mixing cleaners. Bleach plus vinegar or ammonia makes toxic gas. Use one product at a time, rinsing between.
- Scrubbing dry mould hard. It throws spores into the air. Wet the area with your cleaner first.
- Painting or caulking over mould. It grows straight back through.
- Leaving the shower wet and closed. A sealed, damp shower is a mould greenhouse.
More bathroom cleaning guides
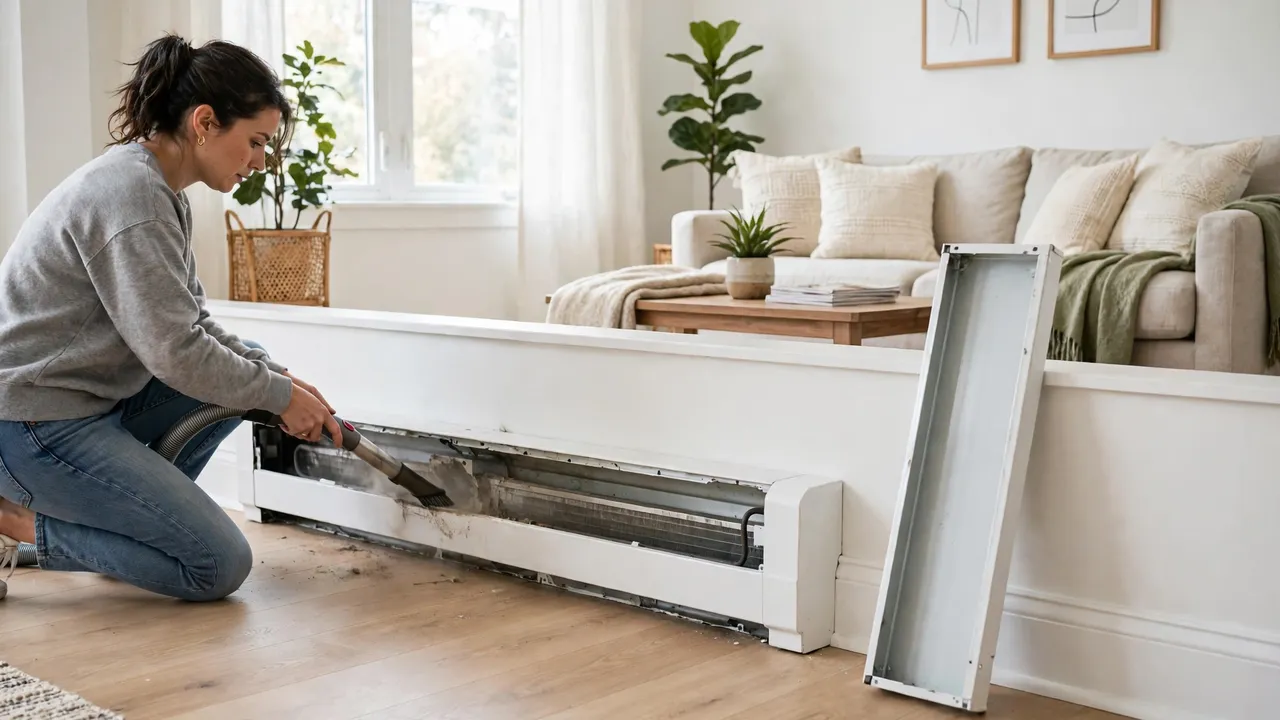
Mould is one part of bathroom care. The same vinegar-and-patience method keeps the rest of the room fresh — and for the room next door, see how to clean baseboard heaters before the heating season starts.
Frequently asked questions
What kills shower mould best: vinegar or bleach?
For grout, vinegar. It soaks into the porous surface and reaches the roots, while bleach mostly bleaches the surface stain. For glazed tile and glass, both work. On natural stone, use neither — choose a pH-neutral stone cleaner.
How long should vinegar sit on mould?
At least 30 minutes, and up to an hour for thick or old patches. The sitting time does the real work; scrubbing too early is the most common reason the mould survives.
Is the black mould in my shower dangerous?
Most shower mould is common household mould, and small surface patches are a normal cleaning job. Large areas (over about 10 square feet), mould that returns within days, soft or stained walls, or breathing problems in the home are signs to call a professional.
Why does mould keep coming back in the same corner?
Because the water stays there. Corners dry last, caulk fails there first, and grout soaks up water. Dry the corner fully after showers, check the caulk, and seal the grout. If it still returns fast, water may be getting behind the tiles.
Can I clean mould off the caulk instead of replacing it?
Only if the colour is on the surface. Mould that has grown into silicone cannot be removed — the black runs through the material. Cutting it out and re-caulking with 100% silicone is the only lasting fix, and it is a one-hour job.
What is the pink slime in my shower?
That is usually not mould but a common airborne bacteria that feeds on soap residue. It wipes off easily with vinegar or a bathroom cleaner. Regular drying and squeegeeing keeps it away.
Sources
Method cross-checked against established mould-cleaning guidance, including the US EPA's advice on household mould cleanup (clean small areas yourself, fix the moisture source, call a professional for large areas) and manufacturer guidance on silicone caulk replacement. Written in our own words for A Natural Day readers.

Written by
MD DOLAR HOSEN
Technology expert and the founder and author of A Natural Day. He tests and reviews everyday tech, gadgets, and home essentials, and writes practical buying gui…
Comments (0)
Join the discussion — sign in to leave a comment.
Sign in to commentNo comments yet. Be the first to share your thoughts.