How to Clean a Waffle Maker: Remove Baked-On Batter Without Scratching
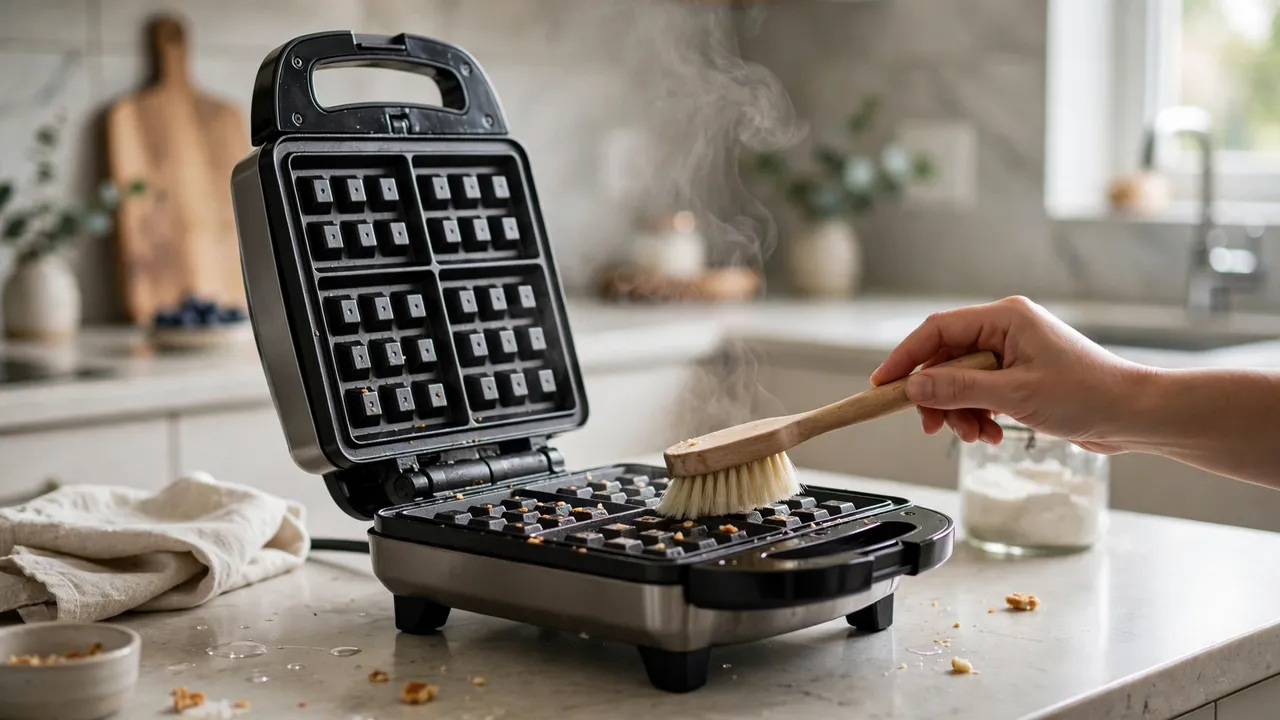
A waffle maker traps everything it cooks with: batter in the grooves, oil in the corners, caramelised sugar on the grids. And unlike a pan, you cannot just throw it in the sink — it is an electrical appliance with a delicate non-stick coating. The whole clean is therefore a wipe-down job: unplug, cool, brush, damp-wipe, soften what is stuck, and dry. Done after each use, it takes five minutes and the maker never builds up the burnt crust that makes people dread cleaning it.
What you need
- Soft pastry brush or an old soft toothbrush
- Paper towels and a soft cloth or microfibre cloth
- Warm water and a drop of mild dish soap
- Cooking oil (for softening baked-on batter)
- Baking soda (for a gentle paste on stubborn spots)
- A wooden or silicone spatula
First: fixed plates or removable plates?
| Plate type | How to clean |
|---|---|
| Fixed (most makers) | Wipe in place only. Never immerse the unit, never run water over the grids, never take the machine apart. |
| Removable | Pop the plates out once cool and wash them in warm soapy water in the sink. Dishwasher only if your manual says so. Dry fully before clicking them back in. |
The steps below are written for fixed plates — the harder case. If yours are removable, do steps 1–2, then wash the plates at the sink and skip to step 6.
How to clean a waffle maker, step by step
Step 1: Unplug and let it cool to warm
Unplug the maker as soon as the last waffle comes out and leave the lid open. Let it cool until it is warm to the touch, not hot — about 15–20 minutes. Warm plates clean far more easily than cold ones, because the oil and batter have not set hard yet; hot plates burn hands and can melt a cloth onto the coating.
Step 2: Brush out the crumbs
Tip the open maker gently over the bin, then sweep the grids with the soft brush or dry cloth, working along the grooves and into the corners. Crumbs first, always: wiping a wet cloth over loose crumbs just pushes them deeper into the grid.
Step 3: Blot the oil
Press a dry paper towel into the grids and corners to soak up surface oil before it bakes into a sticky varnish. The folded edge of the towel reaches into the grooves.
Step 4: Wipe with a damp, soapy cloth — then wipe again
Dampen a soft cloth in warm water with a drop of dish soap and wring it out well — damp, never dripping, because water must not reach the electrics. Wipe both grids thoroughly, following the grid pattern. Then wipe again with a clean cloth dampened in plain water to remove the soap film, which otherwise flavours the next waffles.
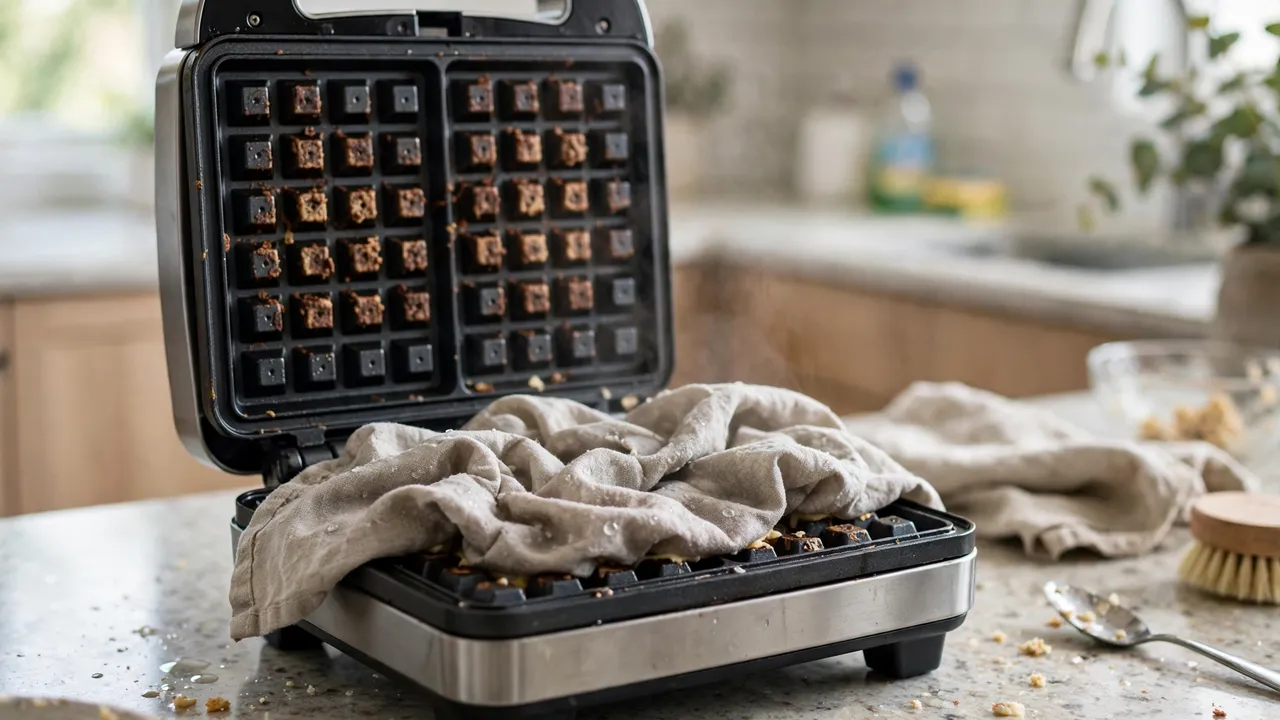
Step 5: Soften baked-on batter — do not scrape it
For batter that has baked hard into the grooves, soften first, scrape never. Two gentle methods:
- The oil soak: dab a little cooking oil onto the stuck spots with a paper towel and leave it 5–10 minutes. The oil loosens the starch bonds, and the residue wipes away.
- The warm cloth compress: lay a cloth soaked in warm water and wrung out over the open grids, close the lid gently, and leave it about 10 minutes. The trapped warmth and moisture melt caramelised sugar and soften the crust.
- Baking soda paste for the worst spots: a paste of baking soda and a little water, spread on, left 10–15 minutes, then wiped away with a damp cloth. Mildly abrasive, safe for non-stick.
Lift softened bits with a wooden or silicone spatula or the brush. Never use a knife, a metal fork, steel wool or a scouring pad — one scratch in the non-stick and every waffle sticks there forever.
Step 6: Dry, then store open a while
Wipe the grids dry and leave the maker open until fully dry before closing and storing it — ideally upright. Closing a damp maker traps moisture and smells, and the next waffles pick both up.
The outside and the drip area
Wipe the exterior, handle and hinge with the same damp cloth once the grids are done — batter overflow bakes onto the rim and the counter-side of the lid. A soft toothbrush handles the hinge and the overflow channel. Keep all moisture away from the cord entry and the controls.
Cast iron waffle irons: the exception
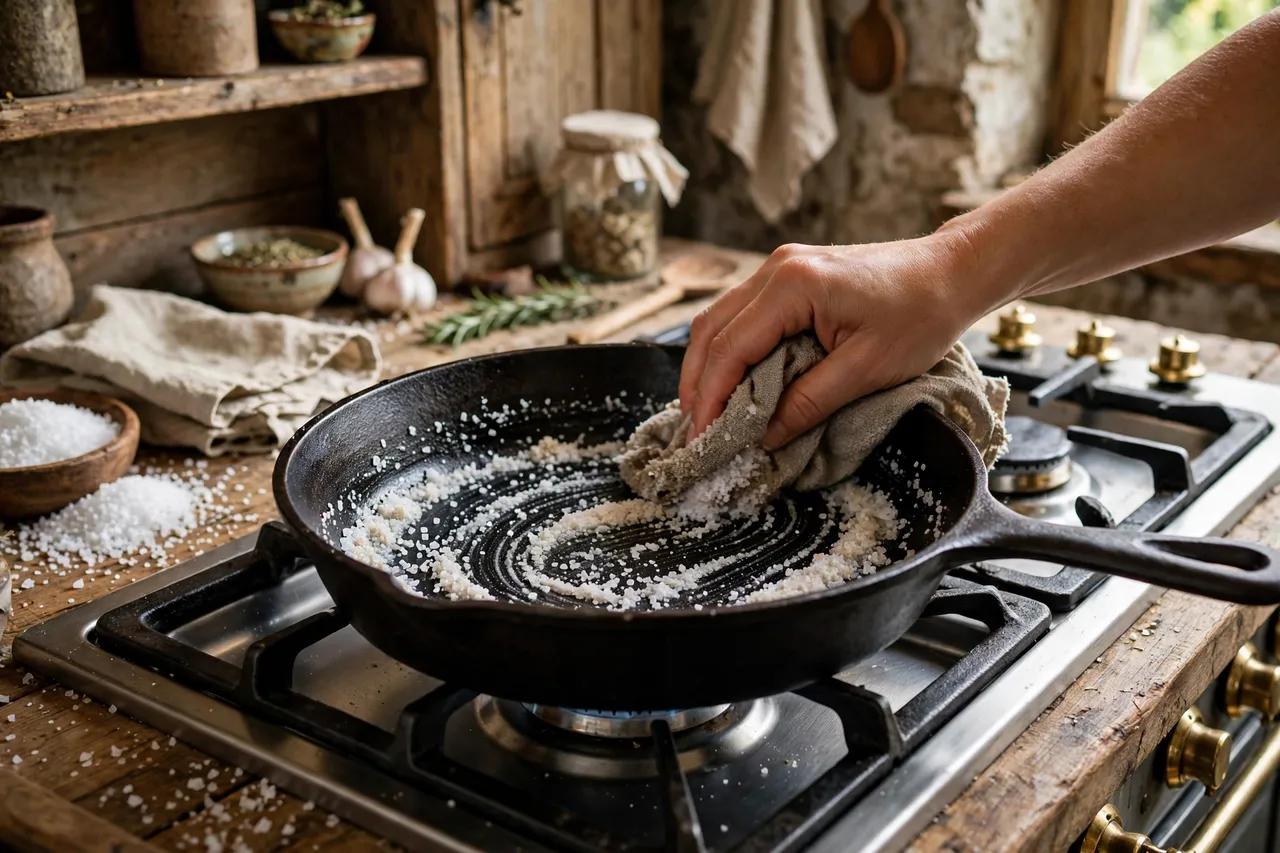
A stovetop cast iron waffle iron has no electrics and no non-stick coating, so it follows cast iron rules instead: brush it out, scrub with coarse salt if needed, rinse briefly only if you must, dry it on the heat, and wipe on a whisper of oil. Our full method is in how to clean cast iron with salt.
Mistakes that ruin a waffle maker
- Immersing it or running it under the tap. Water in the electrics is the end of the appliance — and a safety risk.
- Scraping with metal or scrubbing with steel wool and scouring pads. The non-stick never recovers.
- Cleaning it while it is still hot — burns, and a cloth can fuse to the coating.
- Leaving batter to harden for days. The five-minute warm clean becomes a half-hour project.
- Using oven cleaner or harsh sprays on the grids. They attack the coating and leave residues where food cooks.
- Closing and storing it damp.
More appliance care
Small appliances all reward the clean-it-warm habit — see common air fryer mistakes and how to fix them and our budget kitchen gadget picks for the tools worth keeping clean.
Frequently asked questions
Can I put my waffle maker in water?
No — never immerse an electric waffle maker or run water over its grids. The water reaches wiring and heating elements. Only removable plates (on models that have them) may be washed in the sink, and only once they are out of the unit.
How do I get burnt batter out of the grooves?
Soften it, do not scrape. Use the oil soak (5–10 minutes), the warm damp cloth compress (about 10 minutes), or a baking soda paste (10–15 minutes), then lift the residue with a soft brush or wooden spatula and wipe clean.
Can I use cooking spray on my waffle maker?
Check your manual — many makers advise against aerosol sprays, because their additives build up into a sticky film on non-stick coatings that is very hard to remove. Brushing on a thin layer of plain oil with a pastry brush is the safer habit.
How often should I clean a waffle maker?
After every use. The brush-out and damp wipe take five minutes while the plates are warm, and they prevent the baked-on build-up that turns cleaning into a project.
Why do my waffles stick even though the maker is non-stick?
Usually a damaged or dirty coating: scratches from metal tools, a film of old spray oil, or batter residue carbonised in the grooves. Clean the grids fully with the methods above, preheat the maker completely before adding batter, and lightly oil the grids with a brush if your manual allows.
Can I use vinegar to clean a waffle maker?
It is not needed and not ideal — vinegar does little for baked-on batter and can leave a taste in the grooves. Warm water, a drop of dish soap, oil soaks and baking soda paste handle every job on a waffle maker.
Sources
Method cross-checked against waffle maker manufacturers' care instructions (Cuisinart, Hamilton Beach, DASH and others: never immerse, wipe in place, soften baked-on batter with oil, no abrasives on non-stick). Written in our own words for A Natural Day readers.

Written by
MD DOLAR HOSEN
Technology expert and the founder and author of A Natural Day. He tests and reviews everyday tech, gadgets, and home essentials, and writes practical buying gui…
Comments (0)
Join the discussion — sign in to leave a comment.
Sign in to commentNo comments yet. Be the first to share your thoughts.