How to Connect MNN Portable Monitor to MacBook with USB C
QUICK ANSWER
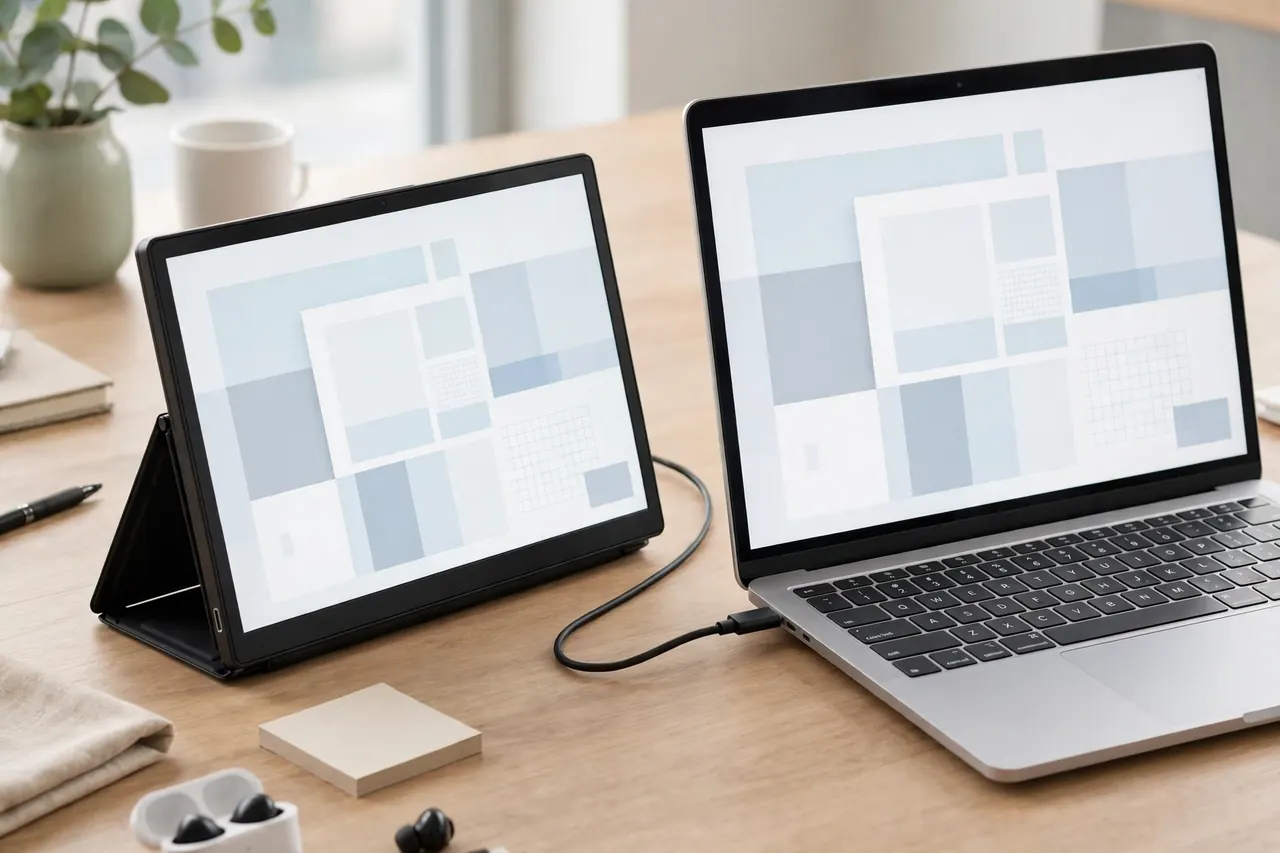
This guide shows how to connect MNN portable monitor to MacBook with USB C. Use the USB-C to USB-C cable from the box. Plug one end into your MacBook and the other into one of the monitor's two Type-C ports — that one cable carries power and the picture. Press the power button and wait a few seconds.
If the screen stays black, flashes, or restarts, your MacBook is not giving the monitor enough power. Plug the included 5V 2A wall charger into the monitor's second Type-C port, and keep the video cable in the other port. Then open Apple menu > System Preferences > Displays, and use the Arrangement tab: uncheck "Mirror Displays" to extend, check it to mirror.
WHAT YOU NEED
Everything you need is in the box.
- Your MacBook, with a USB-C port that supports video output (DisplayPort Alt Mode). The manual does not list newer Apple Silicon models.
- The MNN M156F01 monitor and its magnetic cover, which folds into a stand.
- The USB-C to USB-C cable from the box — it carries power and video together.
- The USB-A to USB-C power cable from the box — power only, no video.
- The 5V 2A (10W) power adapter from the box. Keep it nearby.
- The Mini HDMI to HDMI cable from the box, only needed for HDMI.
Fold the cover into a stand first, and charge your MacBook — a low battery gives the monitor even less power.
How to Connect MNN Portable Monitor to MacBook with USB C in One Cable
One cable, no extra charger — the setup most people want.
1. Fold the magnetic cover into a stand and place the monitor next to your MacBook.
2. Take the USB-C to USB-C cable from the box — a random charging cable may not carry video.
3. Plug one end into a USB-C port on your MacBook.
4. Plug the other end into either Type-C port on the monitor — both are the same, and each carries power, video, audio, and touch.
5. Press the power button and wait a few seconds.
The monitor will show your desktop, extended or mirrored. macOS usually picks one by itself; change it in the Displays settings below. The monitor uses only 6W, but some MacBooks still cannot spare enough power through one cable at high brightness.
How to Connect MNN Portable Monitor to MacBook with USB C and a Wall Charger
This is the most important section here — it fixes the black screen and flashing most MNN owners run into. Use it if the screen is black, flashes, restarts, or drops dim.
1. Plug the included 5V 2A adapter into a wall outlet.
2. Connect the adapter to one Type-C port with the USB-A to USB-C power cable.
3. Wait for the monitor to show "no signal" — it has power and is waiting for video.
4. Plug the USB-C to USB-C cable into the monitor's other Type-C port and the other end into your MacBook.
5. Wait a few seconds — the picture should appear and stay on.
Power first, then video. With steady wall power, the monitor does not pull power from your MacBook, so the cable only carries the picture. The manual says to use the wall charger to avoid a black or flashing screen, and that flashing or restarting is usually caused by insufficient power. Without external power, at high brightness, brightness drops to 30 by itself.
How to Connect MNN Portable Monitor to MacBook with USB C Using HDMI Instead
USB-C is the best option for a MacBook. HDMI helps if your MacBook's USB-C port does not support video output. HDMI always needs two cables: Mini HDMI to HDMI for video, plus USB-A to USB-C for power. The Mini HDMI port is video input only.
1. Plug the Mini HDMI end into the monitor's Mini HDMI port.
2. Plug the HDMI end into your MacBook's HDMI port, if it has one. Some MacBook Pro models have one; MacBook Air models do not, and would need a USB-C to HDMI adapter, which is not in the box.
3. Plug the USB-A to USB-C cable into the monitor's Type-C port and the other end into the wall charger.
4. Turn on the monitor and select HDMI input if it does not switch by itself.
Use HDMI only if USB-C video does not work.
How to Set Up Extend Mode on Your MacBook with the MNN Portable Monitor
Extend mode turns the monitor into a second screen — email on one, a document on the other.
1. Connect the monitor, using the wall charger as well if needed.
2. Click the Apple menu, then System Preferences, then Displays.
3. Click the Arrangement tab.
4. Make sure "Mirror Displays" is NOT selected — unchecked means Extend mode.
5. Drag the two rectangles to match your desk, so your mouse moves the right way.
6. To move the menu bar, drag the white strip to the other rectangle.
Test it by dragging a window to the edge of your MacBook screen.
How to Mirror Your MacBook Screen on the MNN Portable Monitor
Mirror mode shows the same picture on both screens — useful for presentations.
1. Connect the monitor to your MacBook.
2. Click the Apple menu, then System Preferences, then Displays.
3. Click the Arrangement tab.
4. Check "Mirror Displays" — both screens will now show the same picture.
In mirror mode, both screens use the same resolution. The monitor is 1920 x 1080, Full HD. To go back to Extend mode, uncheck "Mirror Displays" again.
How to Rotate the MNN Portable Monitor Screen on a MacBook
Portrait mode turns the monitor tall instead of wide — great for reading long documents or editing code.
1. Connect the monitor to your MacBook.
2. Click the Apple menu, then System Preferences.
3. Hold down Cmd and Option, then click on Displays.
4. Find the Rotation drop-down — it only appears when you hold Cmd and Option while opening Displays.
5. Pick Standard, 90, 180, or 270 degrees, and turn the monitor on its side to match. On newer macOS, the menu may be called System Settings.
Troubleshooting: Black Screen, No Signal, or Flashing
Black screen or no signal
Use the cables from the box — a random USB-C cable may be charging-only, with no video wires. Next, give the monitor wall power: plug the wall charger into one Type-C port, wait for "no signal", then plug the video cable into the other port. Then try a different USB-C port — some support charging only, not video (DisplayPort Alt Mode). Finally, try another device. If it works there, the problem is your MacBook's port or settings. If it works nowhere, contact MNN support at [email protected].
Screen keeps flashing or restarting
Flashing or restarting usually means insufficient power, according to the manual. Plug the 5V 2A adapter into one Type-C port and keep the video cable in the other. Do not rely on one USB-C cable. If it still flashes, use the original cables and a working wall outlet.
Mirror vs extend is wrong
If both screens show the same picture but you wanted extra space, open Apple menu > System Preferences > Displays > Arrangement tab and uncheck "Mirror Displays". If your mouse moves the wrong way, drag the rectangles to match your desk. If the menu bar is on the wrong screen, drag it to the other rectangle. If the monitor is not detected, unplug the USB-C cable, wait five seconds, and plug it back in.
What Not to Do
- Do not use a USB-C to USB-A cable for video. It is power only — you will see "no signal" or a black screen.
- Do not skip the wall charger when the screen flashes or goes black. Low power is the cause, and the wall charger is the fix.
- Do not trust the manual's Mac list as current. It names the MacBook 12 inch, Pro 2016–2018, and Air 2018, and does not cover newer Apple Silicon MacBooks. Newer MacBooks can work if their USB-C port supports video output, but the manual does not promise that by name.
- Do not expect the Mini HDMI port to power the monitor. It is video input only.
About This Model
The MNN M156F01 is a 15.6 inch portable monitor with an IPS panel and Full HD resolution of 1920 x 1080. It has a 16:9 aspect ratio, 60 Hz refresh rate, 250 cd/m2 brightness, 1000:1 contrast ratio, and a 178-degree viewing angle. Colour coverage is 72% sRGB. HDR and FreeSync are both supported. It weighs 1.88 lbs and uses 6W.
Ports: Mini HDMI, a 3.5mm audio jack, and two full-featured Type-C ports. Either Type-C port can carry power, video, audio, and touch. In the box: the monitor, magnetic cover and stand, USB-C to USB-C cable, Mini HDMI to HDMI cable, USB-A to USB-C power cable, and 5V 2A (10W) power adapter.
Price: Not verified on Amazon live on 2026-11-17. Check the live price on Amazon before you buy.
FAQ
Does the MNN M156F01 work with a MacBook?
Yes, if your MacBook's USB-C port supports video output — use the USB-C to USB-C cable from the box. One limit: the manual's Mac list is outdated (MacBook 12 inch, Pro 2016–2018, Air 2018) and does not name Apple Silicon M1–M4 MacBooks. What matters is DisplayPort Alt Mode support.
Can I connect the MNN portable monitor to my MacBook with just one USB-C cable?
Yes. Plug the USB-C to USB-C cable from the box into your MacBook and one Type-C port on the monitor — that one cable carries power and the picture. If the screen goes black or flashes, add the wall charger to the second port.
Why is my MNN portable monitor screen black when I connect it to my MacBook?
Low power is the most likely cause. Plug the 5V 2A wall charger into the second Type-C port, wait for "no signal", then connect the video cable to the other port. Also use the USB-C to USB-C cable from the box, not a charging-only cable, and try a different port.
Why does my MNN portable monitor keep flashing or restarting?
Flashing or restarting usually means insufficient power, according to the manual. Plug the wall charger into one Type-C port and keep the video cable in the other. If it continues, use only the original cables and contact MNN support.
Can I use a USB-C to USB-A cable to connect the monitor to my MacBook?
No, not for video. The USB-A to USB-C cable is power only. Use the USB-C to USB-C cable for video, and the USB-A cable only for power.
How do I switch between mirror and extend mode on a MacBook?
Open Apple menu > System Preferences > Displays > Arrangement tab. Check "Mirror Displays" to mirror, uncheck it to extend.
Final Verdict
Connecting an MNN portable monitor to a MacBook with USB C is simple once you know two rules. First, use the USB-C to USB-C cable from the box — it carries power and video. Second, if the screen goes black or flashes, plug the wall charger into the second Type-C port. That fix comes straight from the manual.
The M156F01 is a light, simple second screen: 15.6 inches, Full HD, 1.88 lbs. Its two Type-C ports make the one-cable connection possible, and HDMI gives you a fallback. The weak point is power — one USB-C cable is not always enough at high brightness, so keep the wall charger nearby.
For more home picks, see our Best Budget Kitchen Gadgets Worth Buying in 2026: https://anaturalday.net/post/best-budget-kitchen-gadgets-2026
SOURCES
- MNN M156F01 Portable Monitor User Manual, manuals.plus: https://manuals.plus/m/37b7b30e42b989f967c4ef42c753f0e4e7ff71d30bd46e22d25a034a2d5e83c7 — checked 2026-11-17.
- Amazon product page, MNN Portable Monitor M156F01 (ASIN B0B9NNWXVP): https://www.amazon.com/dp/B0B9NNWXVP?tag=theinfojourna-20 — checked 2026-11-17. Price, rating, review count, and bought-in-past-month figures: Not Found / Unverified.

Written by
MD DOLAR HOSEN
Technology expert and the founder and author of A Natural Day. He tests and reviews everyday tech, gadgets, and home essentials, and writes practical buying gui…

Comments (0)
Join the discussion — sign in to leave a comment.
Sign in to commentNo comments yet. Be the first to share your thoughts.